

SwitchX is available exclusively on Beeble (Cloud app). It is not
available in Beeble Studio.
This page covers SwitchX 1.0, selectable from the Model dropdown in
the input panel. The default model is SwitchX 2.0, which
adds the 2160p resolution tier and 10-bit MOV output (both on the
Professional plan), a Camera Tracking control, and the Iterate then
Finish workflow: explore in 720p, then finish your favorite take at a
higher resolution.
- Masked Areas: Completely generated based on your prompts and reference images.
- Unmasked Areas: Retained from the original footage, but intelligently relit and restyled to blend seamlessly into the newly generated environment.
Alpha Masks
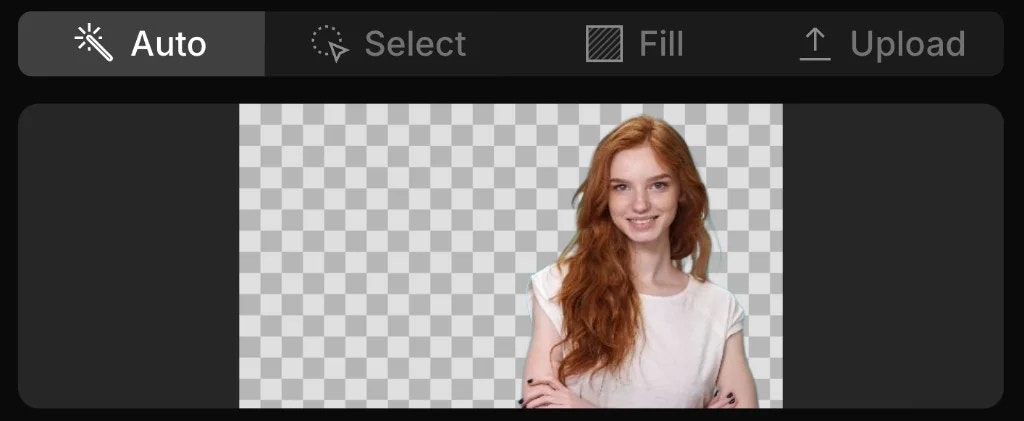
The alpha mask tells SwitchX exactly what to generate and what to preserve. SwitchX offers four masking modes:Auto Mode
Best for: Standard background replacements, relighting a subject, and
virtual production.
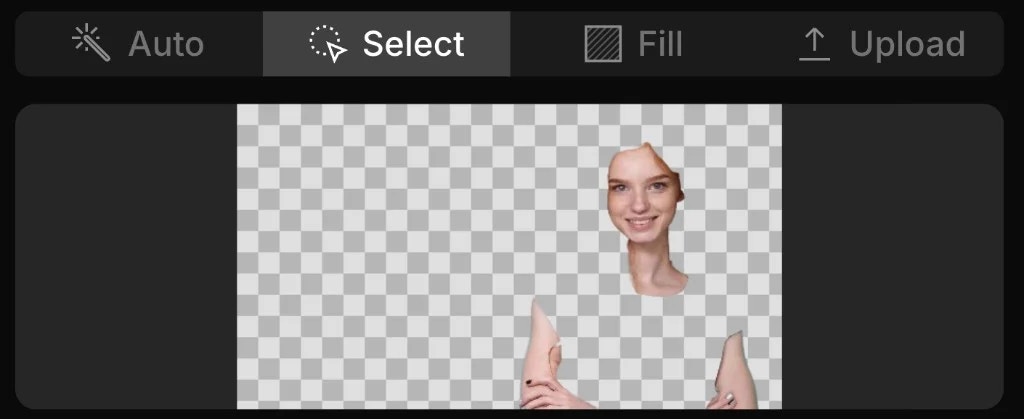
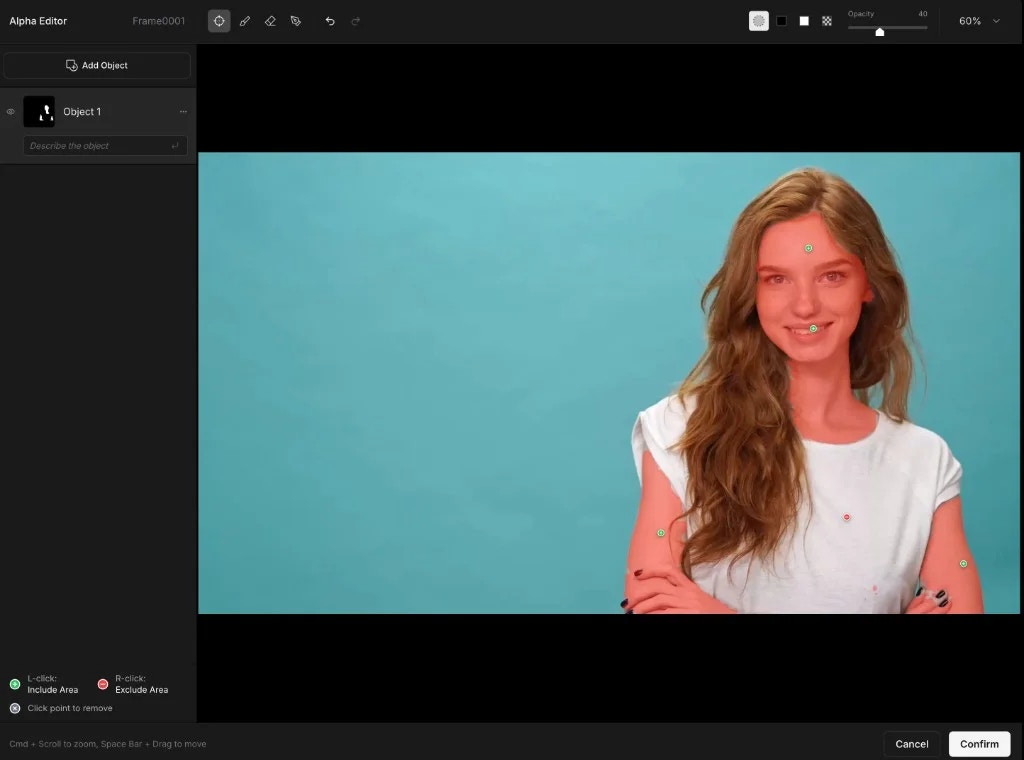
Select Mode
Best for: Precision control, changing specific elements (e.g., changing
clothes while keeping the face and hands intact), and advanced inpainting.
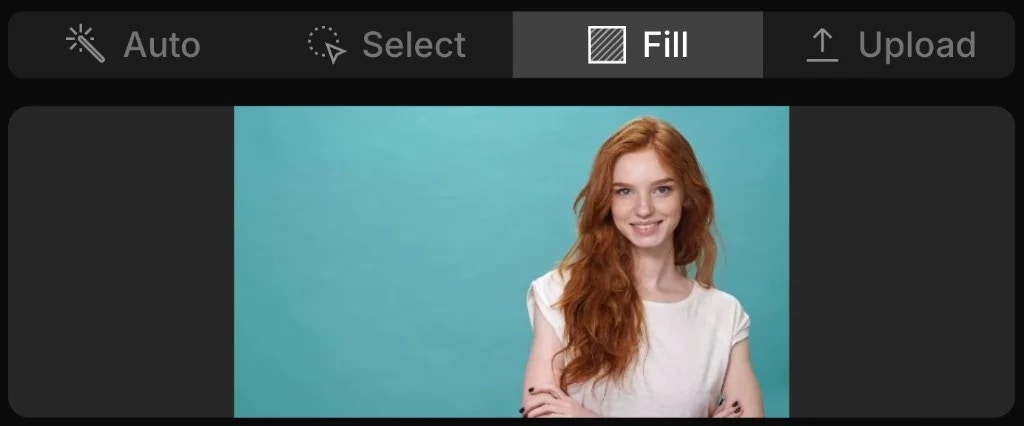
Fill Mode
Best for: Complete scene relighting and restyling.
Upload Mode
Best for: VFX professionals using external compositing software.
Camera Tracking
SwitchX only sees the unmasked (foreground) region of your video. The masked area is completely hidden from the model, meaning SwitchX must infer all camera movement solely from the visible foreground pixels. This has a direct impact on camera tracking quality:- Where it excels: Shots where the foreground contains rich visual data to infer motion, such as a subject with complex movement, organic camera shake, or visible depth changes.
- Where it struggles: Simple, linear camera movements (like lateral trucking/panning shots) where the isolated foreground lacks sufficient parallax cues to estimate motion accurately.
Reference Images
The reference image is your visual blueprint. It should contain all the details you want in your final video: background, lighting, mood, and costumes. SwitchX reads this image and uses it as a guide:- Masked areas: SwitchX generates the background and content from the reference image into the masked region.
- Unmasked areas: SwitchX extracts the style and lighting from the reference image and applies it to your original footage, preserving the original pixels.
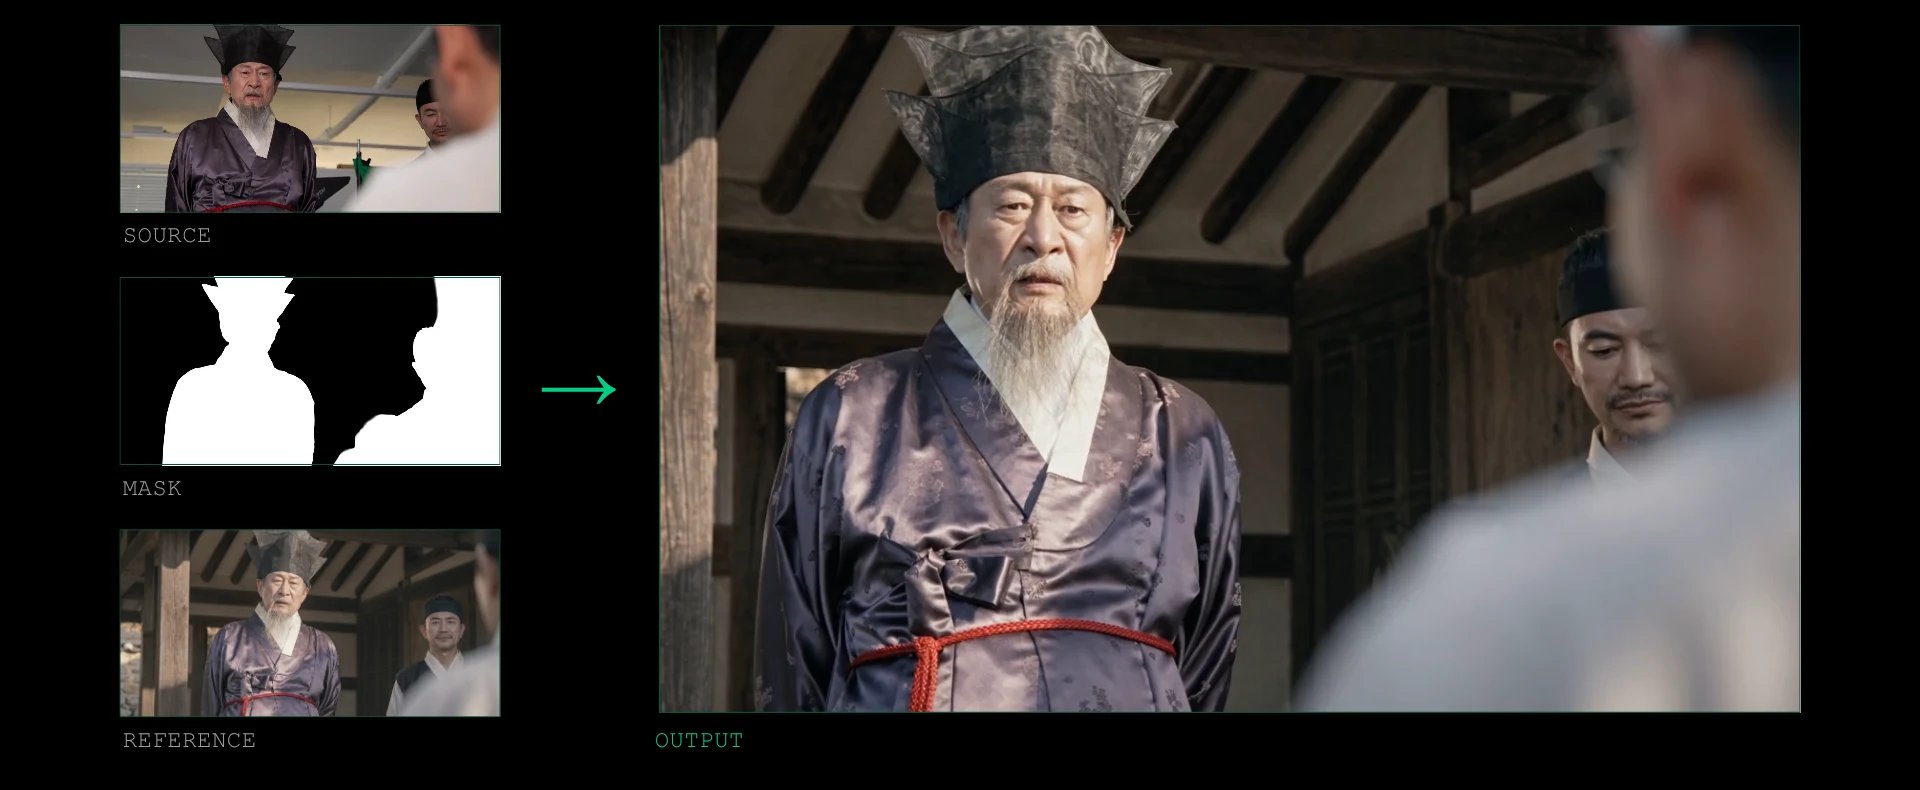
Designing the Reference Image
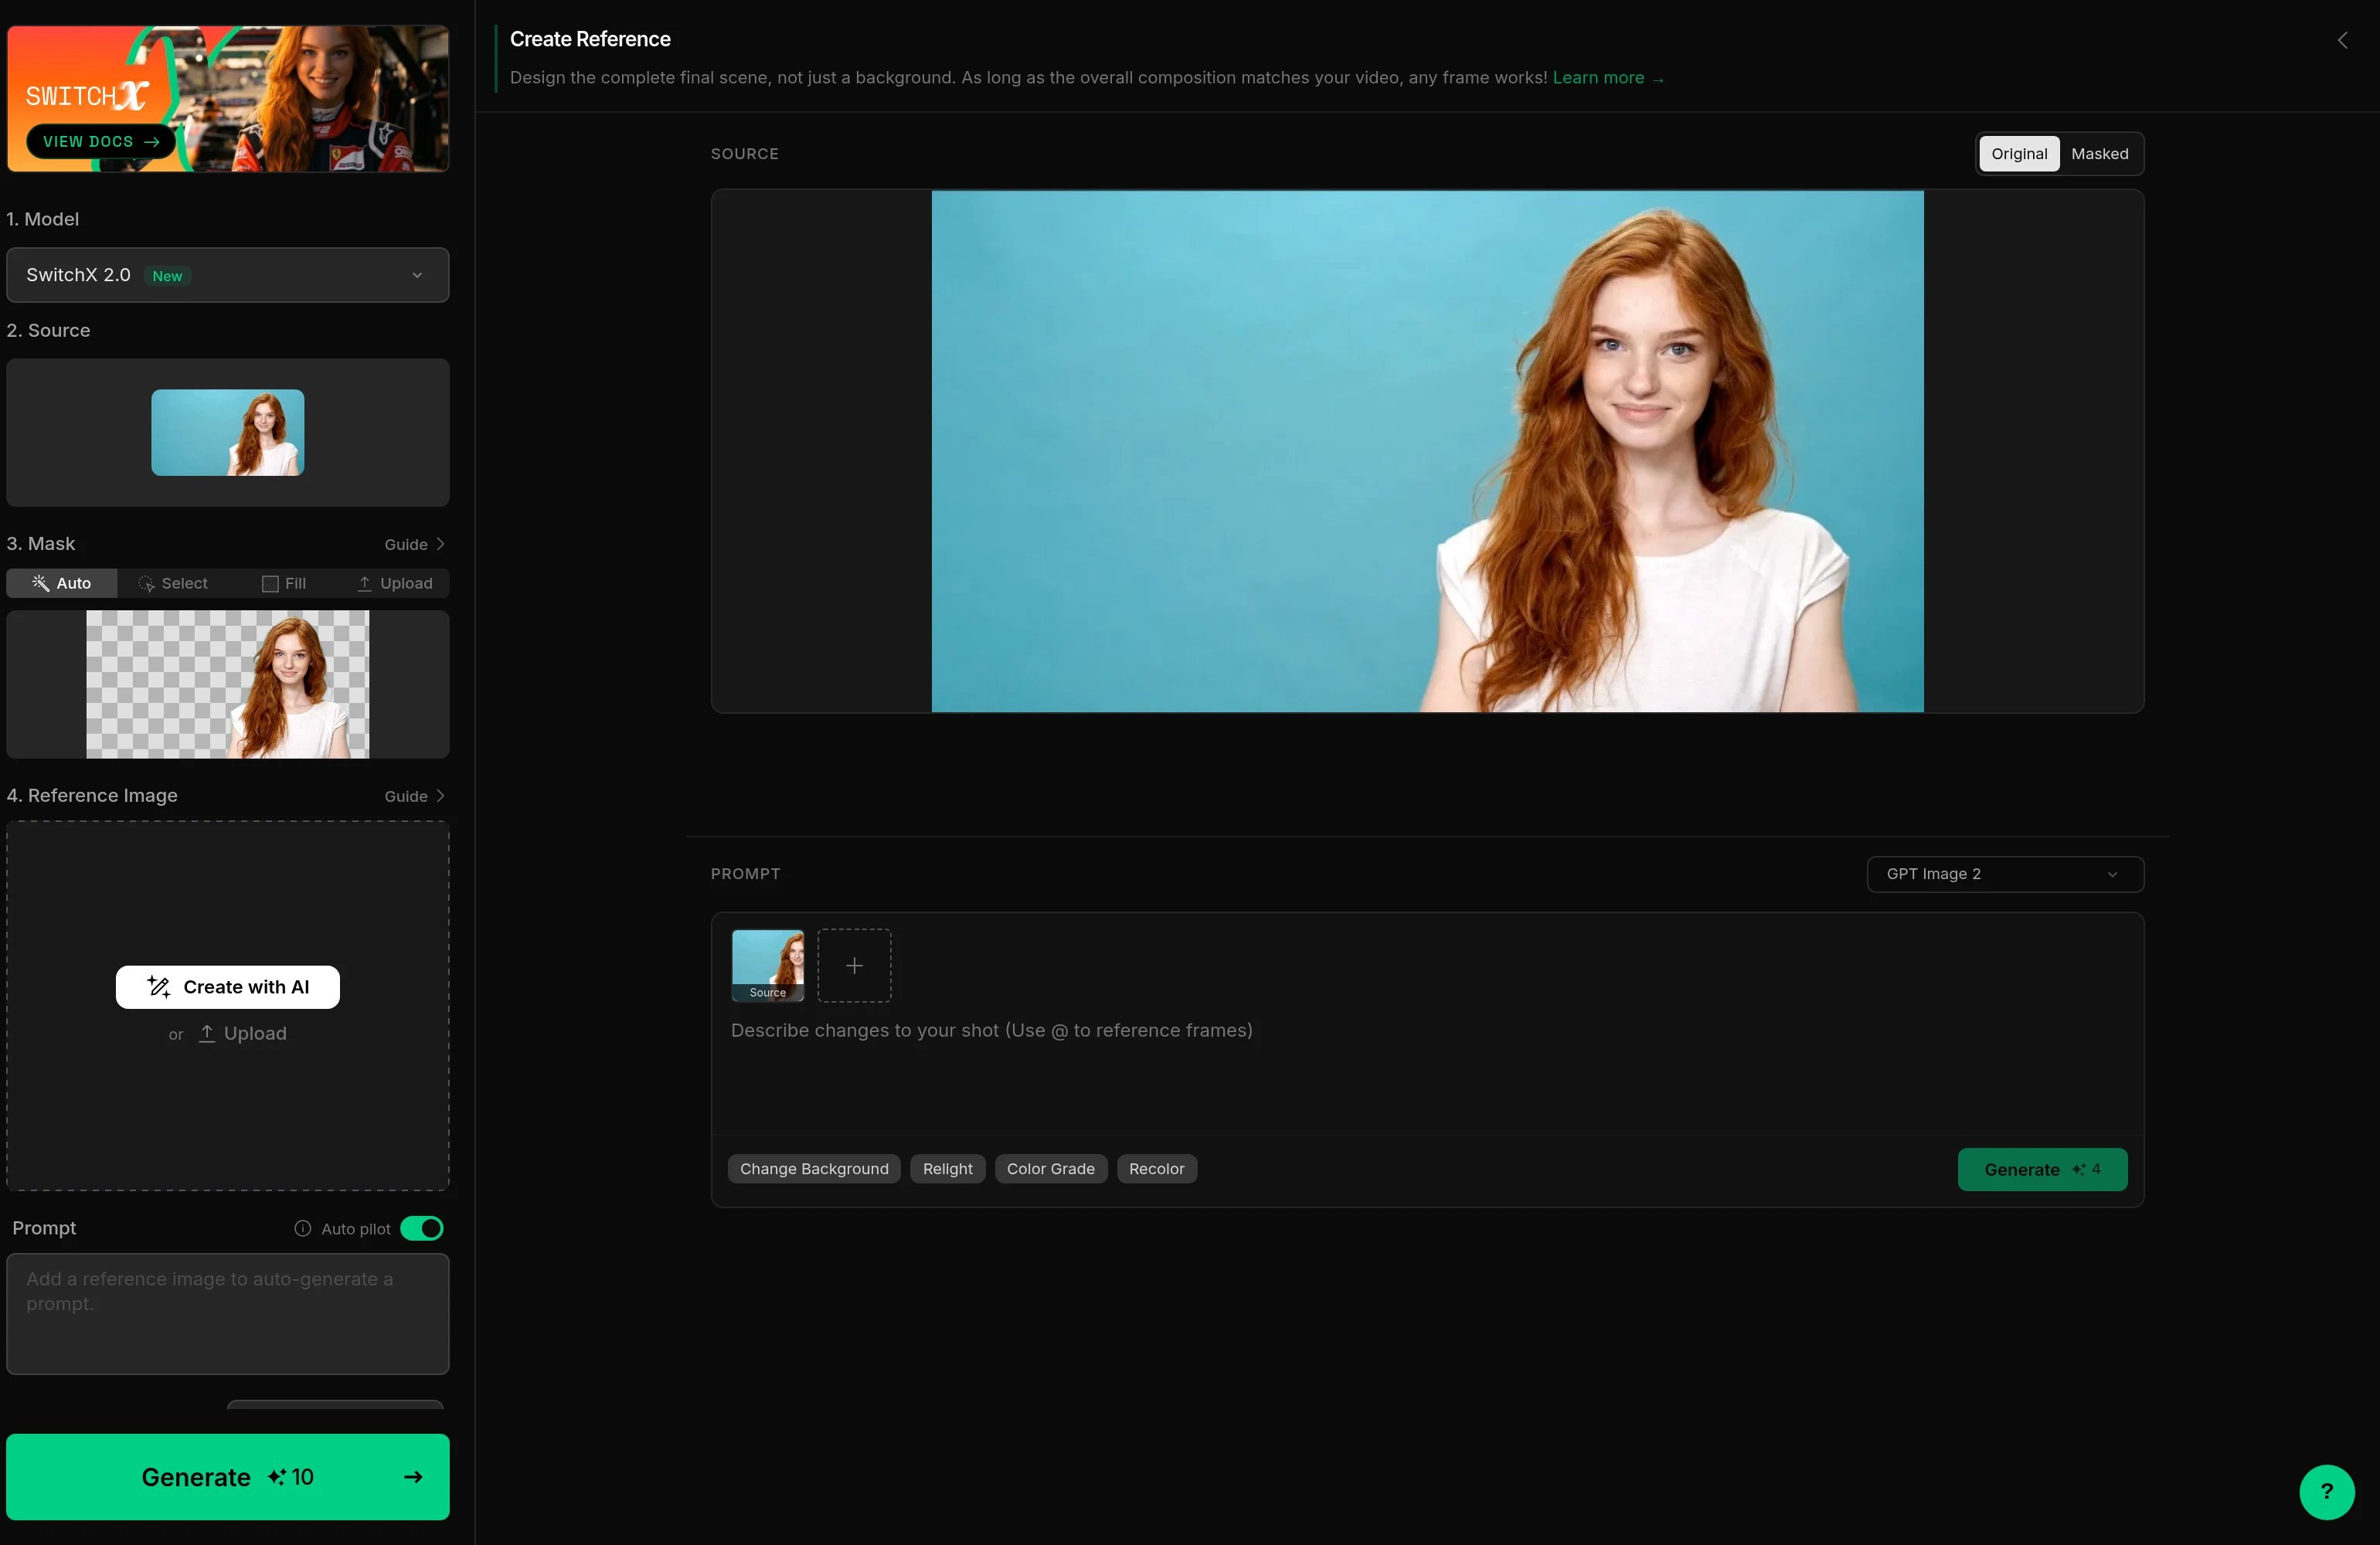
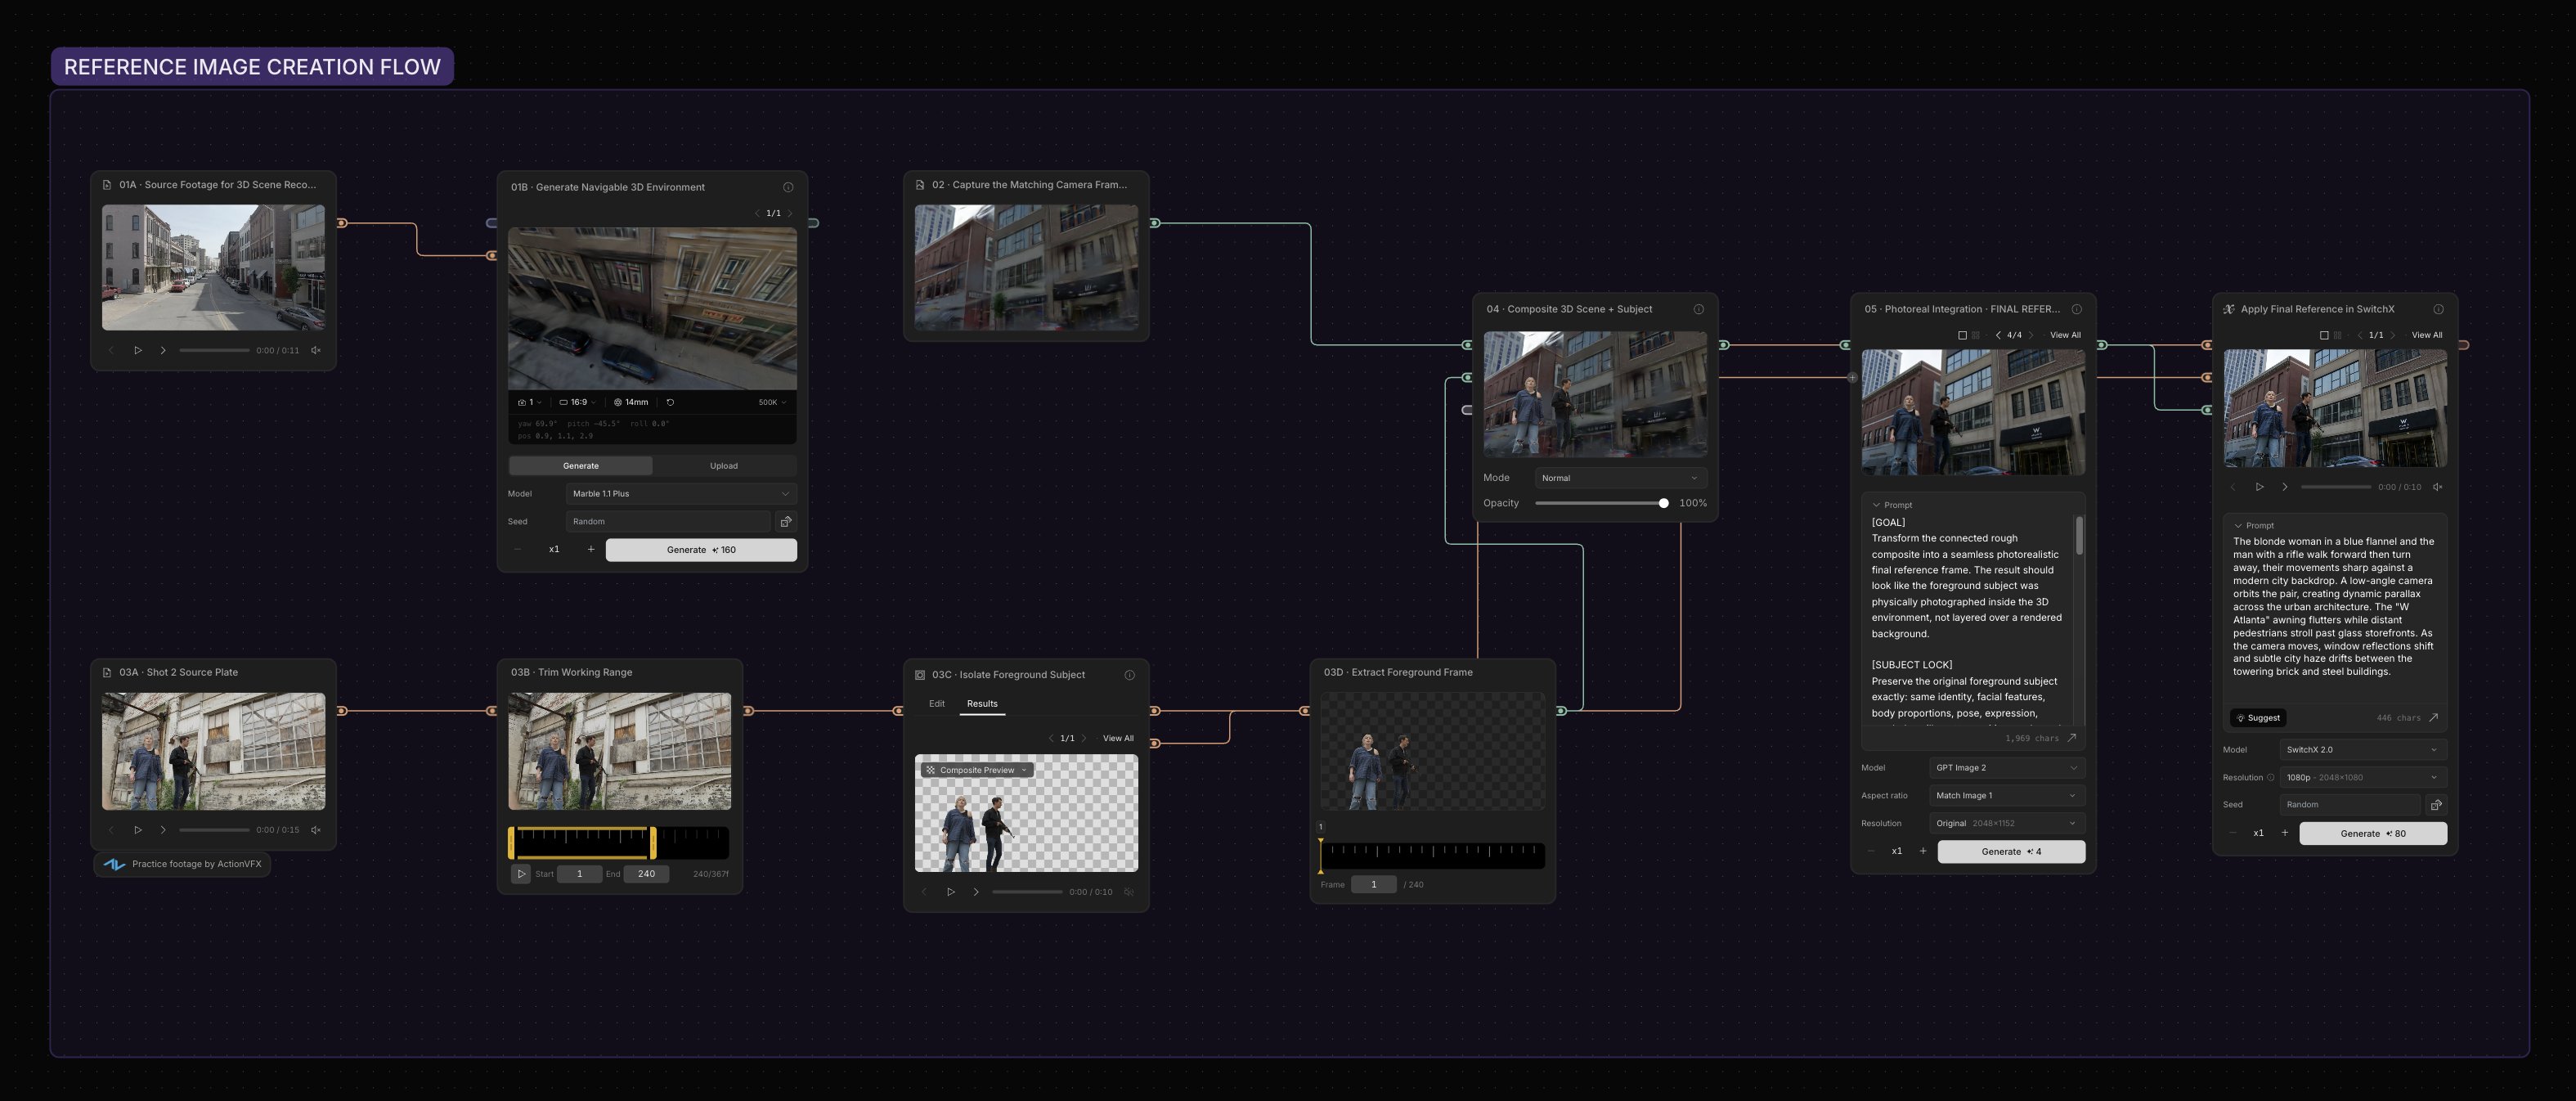
This is the single most important thing to get right. The gap between a good reference and a great one is the gap between an okay result and a stunning one.- Show the subject and environment together. A background-only reference can’t tell the model how to light your subject — put the person in the frame, relit the way you want.
- Pick the most representative frame (it doesn’t have to be the first), then edit it into your target look.
- Think across shots. For multi-shot work, consistency between your reference images matters as much as the beauty of each one.
Imperfect References Are Fine
Your reference image doesn’t need to perfectly match your source footage. For example, if you generate a reference with Nano Banana and the face changes, that’s fine. SwitchX understands what your original pixels are and will only bring the lighting and style from the reference, applying it on top of your actual footage.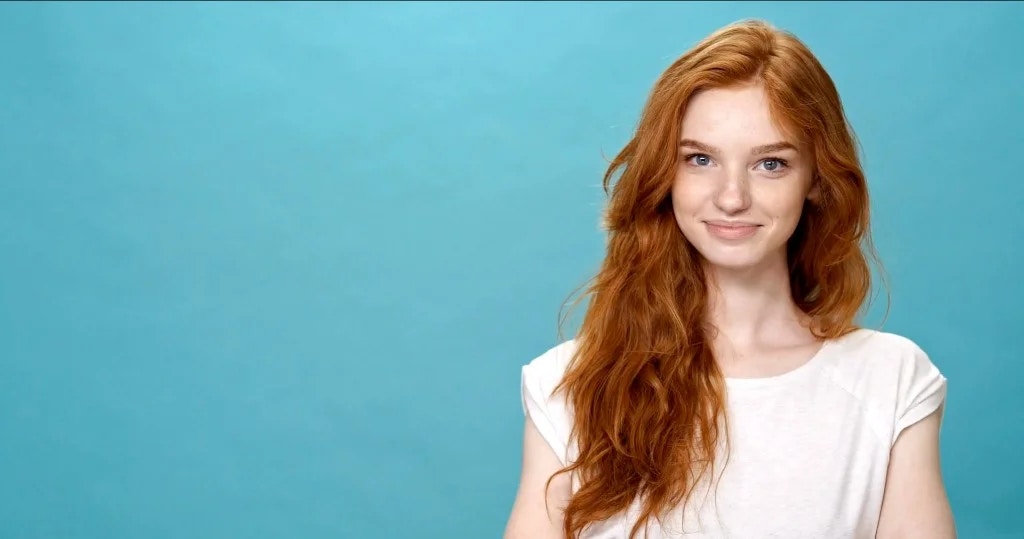
Source
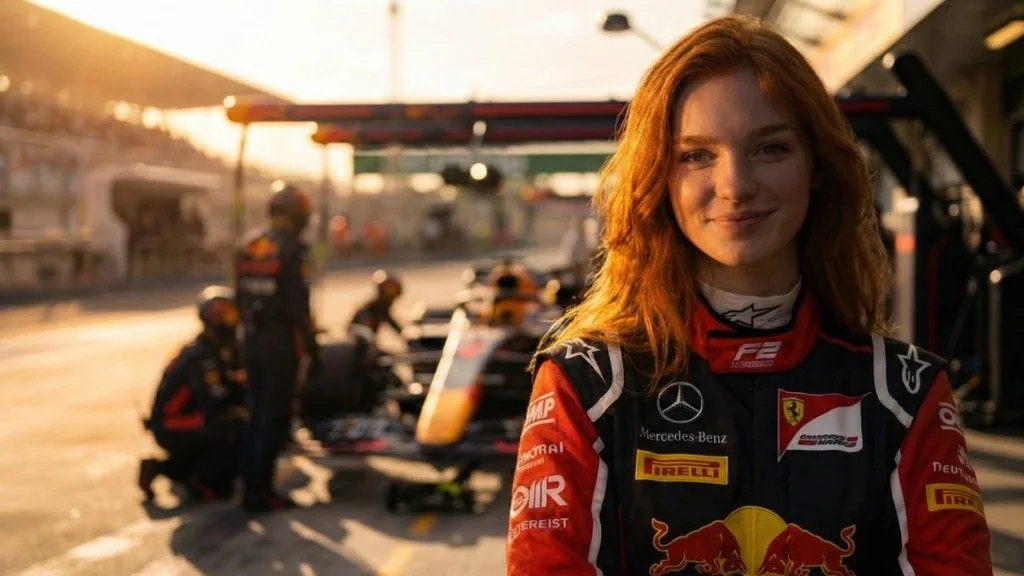
Reference Image
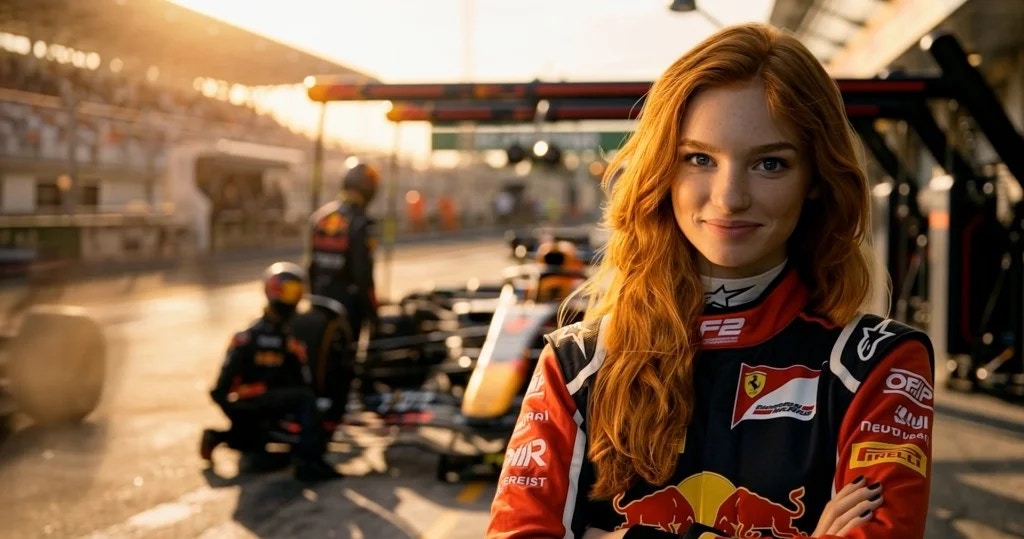
SwitchX Result
Prompting
Be highly specific: name the environment, lighting, and mood (e.g., “a dramatic cliff in Ireland, soft overcast lighting, highly detailed props”); vague prompts like “take me to heaven” yield poor results. If you’re struggling with art direction, leave Auto pilot on and SwitchX writes the prompt from your reference image automatically.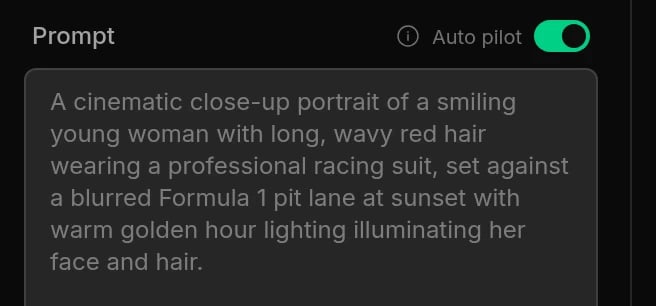
The Professional Workflow (Iteration)
For pixel-perfect results, do not rely solely on the initial AI-generated image:- Generate a reference image using the Create with AI tool.
- Download the generated image to your local machine.
- Refine in Photoshop or similar: adjust color grading, add props, fix details.
- Re-upload the edited image into SwitchX. The final video will strictly follow this tailored reference.
Settings & Export
Resolution
Resolution is a maximum cap on the shortest side: SwitchX 1.0 only caps down, so a source smaller than the selected tier renders at its native resolution. Aspect ratio and frame rate are never altered.
Source Footage
Source quality carries into the output: compression artifacts in the input show up in the result, so feed SwitchX the highest-quality source you have.- Native ProRes ingest: upload your ProRes 422 (Proxy, LT, 422, HQ)
.movmaster directly, up to 4.5GB. No in-app trimming or playback, so trim before uploading. ProRes 4444 (embedded alpha) and variable-frame-rate exports are rejected, and Continue in Canvas is unavailable for ProRes jobs. - High-bitrate H.264 works just as well, visually near-identical to a ProRes master. The quality loss usually blamed on H.264 comes from low-bitrate exports, not the codec.
- Codec: H.264
- Bitrate: 40–60 Mbps at 1080p (scale up proportionally for 4K), or CRF 16 if your tool supports it
- Keep the original resolution and frame rate
- Export in Rec.709 (apply your display LUT first if the footage is Log)